SIM-free iPads — also called Wi-Fi-only iPads — do not have a cellular radio. And because an IMEI is a cellular network identifier, a Wi-Fi-only iPad does not have one. But there is important nuance here: some iPads look identical to their cellular counterparts, and knowing which model you have matters for insurance claims, stolen device reports, and second-hand purchases. This guide covers everything you need to know.
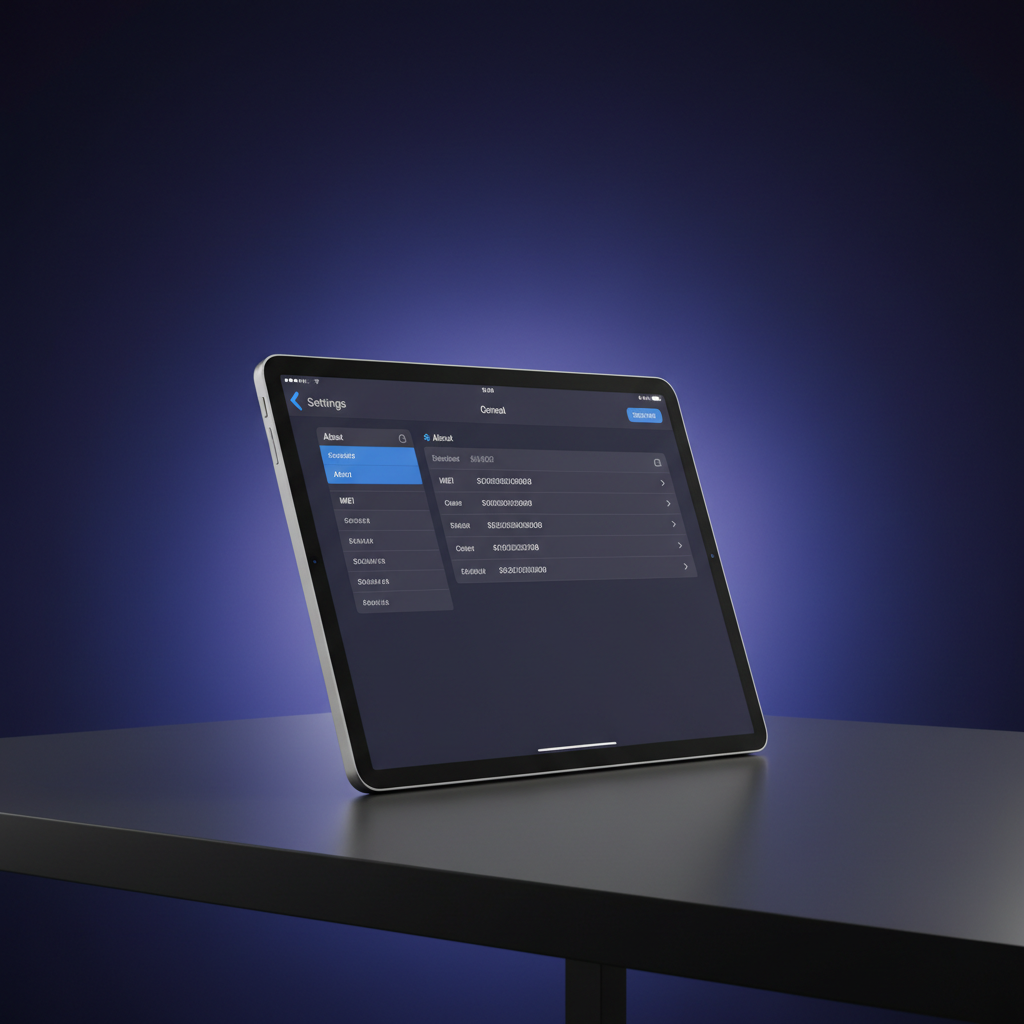
Table of Contents
- Do SIM-Free iPads Have an IMEI?
- How to Tell If Your iPad Is Wi-Fi-Only or Cellular
- Finding the Serial Number on a Wi-Fi iPad
- Finding IMEI on a Cellular iPad
- iPad Models: Wi-Fi vs Cellular IMEI Availability
- What to Use Instead of IMEI for Wi-Fi iPads
- Reporting a Stolen Wi-Fi iPad
- Frequently Asked Questions
Do SIM-Free iPads Have an IMEI?
No. Wi-Fi-only (SIM-free) iPads do not have an IMEI. The IMEI is a cellular network identifier — it only exists on devices with a cellular radio. A Wi-Fi-only iPad has no cellular modem and therefore no IMEI is assigned to it, registered with any carrier, or stored in any mobile network database.
What a Wi-Fi-only iPad does have is a Serial Number — Apple’s manufacturer identifier used for warranty claims, support requests, and AppleCare registration. The serial number is always present on every iPad regardless of connectivity model.
How to Tell If Your iPad Is Wi-Fi-Only or Cellular
Apple sells most iPad lines in two connectivity variants: Wi-Fi and Wi-Fi + Cellular. Here are three quick ways to tell which one you have:
Method 1: Settings
Go to Settings › General › About. If you see an IMEI entry, the iPad is a cellular model. If IMEI is absent and only Serial Number is shown, it is a Wi-Fi-only model.
Method 2: Physical Inspection
On older iPad models (pre-iPad Pro 2018), cellular variants have a thin black plastic strip at the top of the back panel — the cellular antenna window. Wi-Fi-only models are entirely aluminium on the back. On newer iPad Pro and iPad Air models with uniform aluminium backs, this visual distinction is less obvious.
Method 3: Model Number
Go to Settings › General › About › Model Number (tap it to toggle between model number formats). Apple’s model numbers for cellular iPads typically include a “A” followed by a number, and Apple’s support page lists all model numbers with their connectivity type. Wi-Fi models and cellular models always have different model numbers even within the same iPad generation.
Finding the Serial Number on a Wi-Fi iPad
Since Wi-Fi iPads do not have an IMEI, the Serial Number is the primary device identifier. Here is how to find it:
- Settings › General › About › Serial Number — the most direct method
- appleid.apple.com — sign in, go to Devices, select your iPad, Serial Number is listed
- Original box — printed on the barcode sticker on the back of the box
- Back of the iPad — on some older models, the serial number is engraved in very small text near the bottom of the back panel
- Finder / iTunes — connect via USB, click the iPad in the sidebar, click the model text to cycle to Serial Number
Finding IMEI on a Cellular iPad
If your iPad is the cellular model, finding the IMEI works exactly the same as on an iPhone:
- Dial *#06# — open the Phone/FaceTime app and type the code (note: some iPad models may not support this shortcut depending on iOS version)
- Settings › General › About › IMEI — always works on cellular iPads
- appleid.apple.com › Devices › [your iPad] — IMEI listed in device details
- Original box sticker — IMEI printed alongside serial number
Cellular iPads also have an EID if they support eSIM (iPad Pro 2018 onwards, iPad Air 4th gen onwards, iPad mini 6th gen onwards in some regions). The EID is separate from the IMEI and used for eSIM profile management.
iPad Models: Wi-Fi vs Cellular IMEI Availability
| iPad Line | Wi-Fi Model Has IMEI? | Cellular Model Has IMEI? | eSIM Support (Cellular) |
|---|---|---|---|
| iPad (10th gen, 2022) | ❌ No | ✅ Yes | ✅ Yes |
| iPad mini (6th gen, 2021) | ❌ No | ✅ Yes | ✅ Yes (some regions) |
| iPad Air (M2, 2024) | ❌ No | ✅ Yes | ✅ Yes |
| iPad Pro M4 (2024) | ❌ No | ✅ Yes | ✅ Yes |
| iPad Pro (2020 and earlier) | ❌ No | ✅ Yes | ✅ Yes (2018+) |
| iPad (9th gen, 2021) | ❌ No | ✅ Yes | ❌ No (nano-SIM only) |
What to Use Instead of IMEI for Wi-Fi iPads
For Wi-Fi-only iPads, the Serial Number serves as the primary device identifier for all practical purposes:
- Warranty claims: Use serial number with Apple Support
- AppleCare registration: Serial number
- Insurance claims: Serial number (and model number)
- Police report for theft: Serial number — carriers cannot blacklist a Wi-Fi iPad (no cellular), but police reports use serial numbers
- Find My (Apple): Works on all iPads regardless of connectivity — uses Apple ID, not IMEI
Reporting a Stolen Wi-Fi iPad
A stolen Wi-Fi iPad cannot be blacklisted on carrier networks — it simply has no cellular identity to block. However, there are still meaningful steps to take:
- Immediately mark it as Lost in the Find My app on another Apple device or at icloud.com/find. This locks the iPad and displays a contact message on screen.
- Enable Activation Lock — if not already enabled, it prevents anyone from setting up the iPad with a new Apple ID even after a factory reset.
- File a police report with the serial number and model number. Police can use this in recovery efforts.
- Contact Apple and report the device as stolen using your serial number — Apple can flag the device in their system.
Activation Lock is the most powerful protection for Wi-Fi iPads. As long as it is enabled and linked to your Apple ID, a stolen iPad is essentially useless to a thief — it cannot be activated without your credentials. Learn more about mobile device security and privacy best practices.
Does a SIM-free iPad have an IMEI?
No. Wi-Fi-only (SIM-free) iPads do not have an IMEI because they have no cellular radio. IMEI is a cellular network identifier and only exists on devices with a cellular modem. Wi-Fi iPads have a Serial Number instead, which is used for warranty and support purposes.
How do I know if my iPad is Wi-Fi only or cellular?
Go to Settings, then General, then About. If IMEI is listed, the iPad is a cellular model. If only Serial Number appears with no IMEI, it is a Wi-Fi-only model. You can also check the original box — cellular models state Wi-Fi + Cellular on the packaging.
How do I find the IMEI on a cellular iPad?
Go to Settings, then General, then About, and scroll to IMEI. You can also find it at appleid.apple.com under your device list, or on the original retail box sticker. On some models, dialling *#06# in the FaceTime app also works.
Can a stolen Wi-Fi iPad be blacklisted?
No — carrier blacklisting requires an IMEI, which Wi-Fi-only iPads do not have. However, Apple’s Activation Lock effectively immobilises the device by preventing any new Apple ID from being set up. Use Find My to mark it as lost and contact police with the serial number.
What identifier do Wi-Fi iPads use instead of IMEI?
Wi-Fi iPads use their Serial Number as the primary device identifier. It is used for Apple warranty claims, AppleCare registration, insurance claims, and police reports. The serial number is found in Settings then General then About, on the original box, and via appleid.apple.com.